
Trailer Connectors 101: Best Practices in Maintenance
Your trailer plug is one of the smallest components on a trailer. Yet when ignored, it becomes one of the most common causes of downtime. Learn more about trailer plugs, what to look for during inspections, and key considerations when choosing and maintaining connectors in working shop conditions. Browse Trailer Connectors
An Introduction to Trailer Connectors
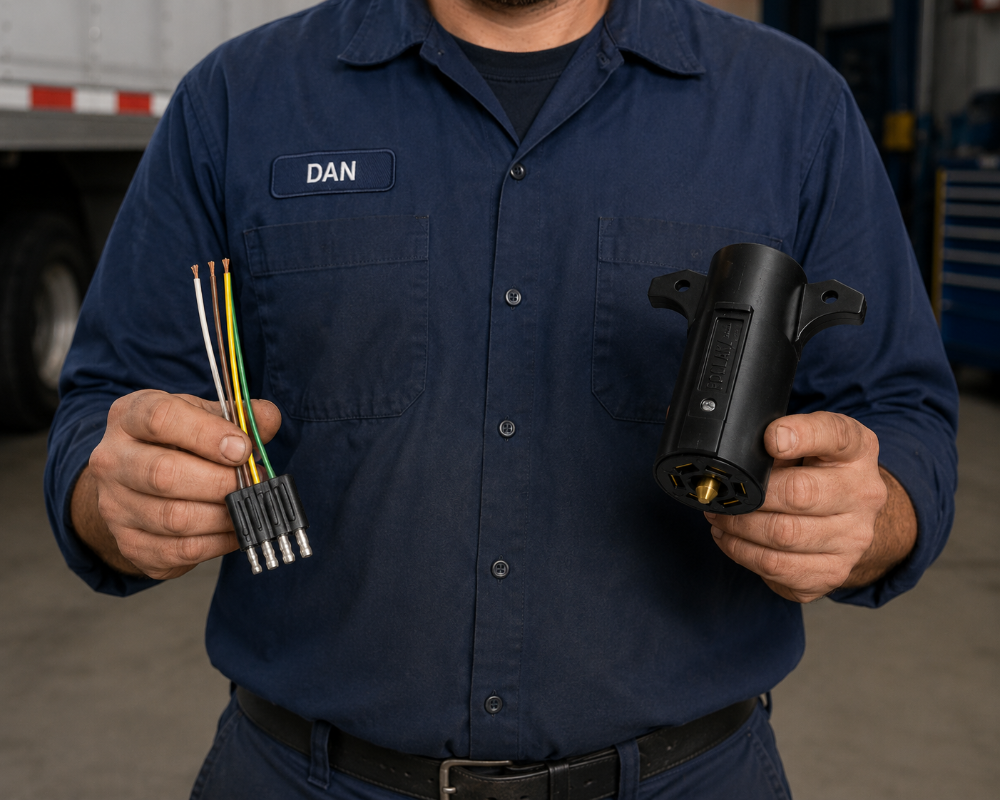
Trailer wiring connectors, commonly called “trailer plugs,” are the unsung heroes of safe, reliable towing. They don’t get the attention that brakes, bearings, or suspension components do – but in day-to-day fleet and MRO work, they’re one of the most common causes of lighting and brake signal issues.
The good news is that most trailer connector issues are preventable. When the shop matches the right plug style to the application, follows consistent wiring practices, and standardizes their maintenance habits, trailer electrical problems become predictable and far easier to eliminate.
What Are Trailer Connectors?
Trailer connectors are the electrical interface between the tow vehicle and the trailer. They transfer power and signals for essential functions like running lights, brake lights, turn signals, reverse lights – and, depending on the setup – electric trailer brakes and 12V auxiliary power.
In the field, you may hear them called trailer plugs, trailer connectors and sockets, trailer wiring connectors, or simply “the trailer pigtail.” The matching socket is mounted on the tow vehicle, and the plug is typically attached to the trailer harness.
Trailer plugs are more than convenience parts. They are high-exposure connections that constantly fight moisture, road salt, vibration, strain from tight turns, and damage from dragging or impact.
 |
 |
 |
 |
Why Small Electrical Parts Cause Big Downtime
In real-world shop conditions, trailer plugs fail for reasons that aren’t always obvious at first glance:
- Pins are “good enough” to make contact… until vibration breaks the circuit.
- Harnesses may look intact… but water migrated into the insulation.
- The socket closes… but the internal spring tension is worn out.
- Wiring is present… but it’s been pinned wrong or shared incorrectly.
- The plug body is fine… but the ground path is weak or contaminated.
If you’ve ever had a trailer come back after a “quick fix,” there’s a strong chance the connector was only repaired halfway. Or, the wrong connector was installed for the job.
Types of Trailer Connectors
There isn’t one “universal” trailer connector. Different trailers require different circuits. The key is understanding which formats are most common in MRO, fleet maintenance, and trailer repair.
Then, stock the right mix for the work you actually see.
Below are the most common connector categories, plus what they support and where they typically show up.
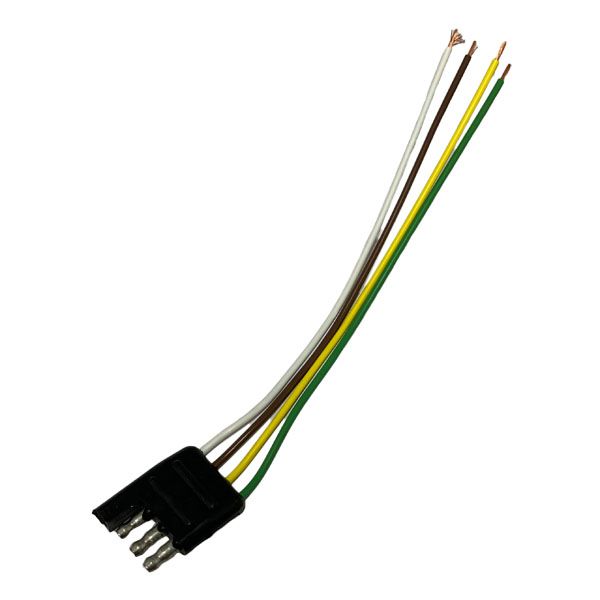
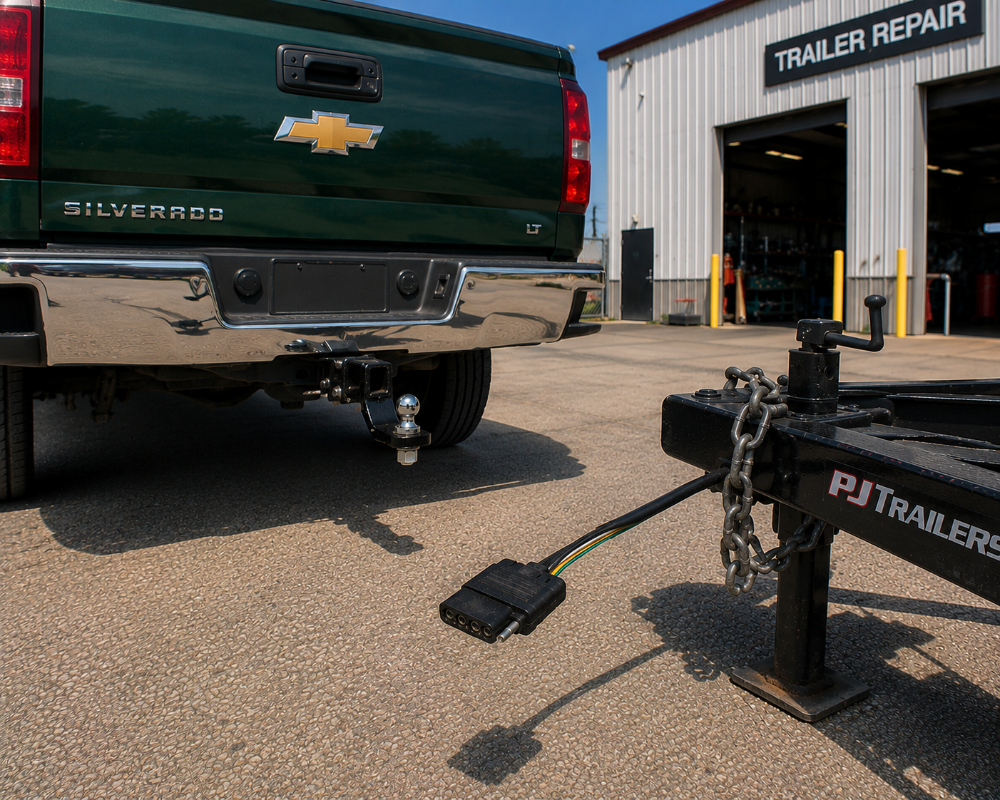
4-Way Flat Connectors (Basic Lighting Circuits)
The 4-way flat is one of the most common connectors on lighter-duty trailers. It’s used when the trailer only needs basic lighting without electric brakes or auxiliary power.
|
Most 4-way flat setups support:
|
Where it shows up in the shop:
|
Typical failure pattern:
Flat plugs get dragged, pinched, stepped on, or cut. They’re also exposed to road spray because they hang lower and are frequently left dangling when not connected.
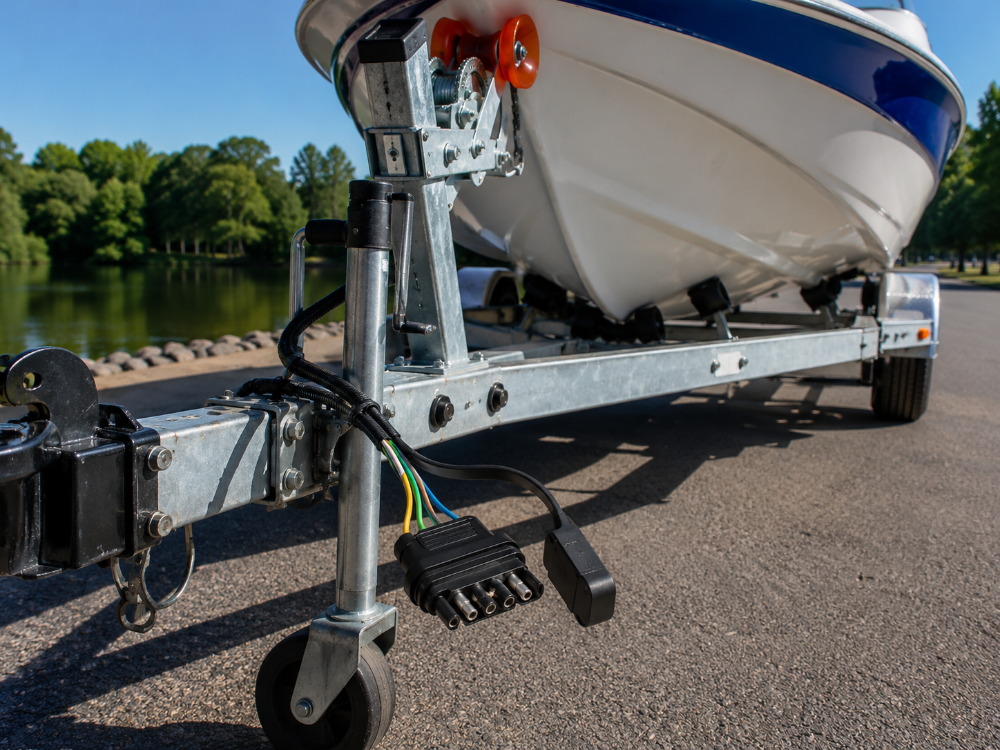
5-Way Flat Connectors (Adds an Extra Function)
A 5-way flat adds a fifth circuit. In many applications, that extra wire supports reverse lockout (common with surge brake setups) or another auxiliary function depending on the trailer.
|
Where it shows up:
|
|
Typical failure pattern:
Miswiring is common when someone “upgrades” from a 4-way without confirming the actual purpose of the fifth circuit.
6-Way Connectors (Mid-Range Towing Needs)
A 6-way connector is often used on mid-sized trailers and some older or specialized towing setups. These can come in different layouts depending on the standard being followed.
|
Where it shows up:
|
|
Typical failure pattern:
A 6-way can be wired multiple ways depending on how the wiring configuration is used. In these cases, correct pin mapping matters even more than usual, and documentation becomes critical.
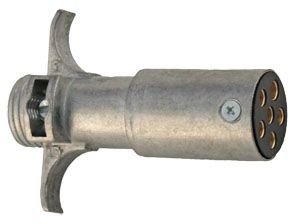
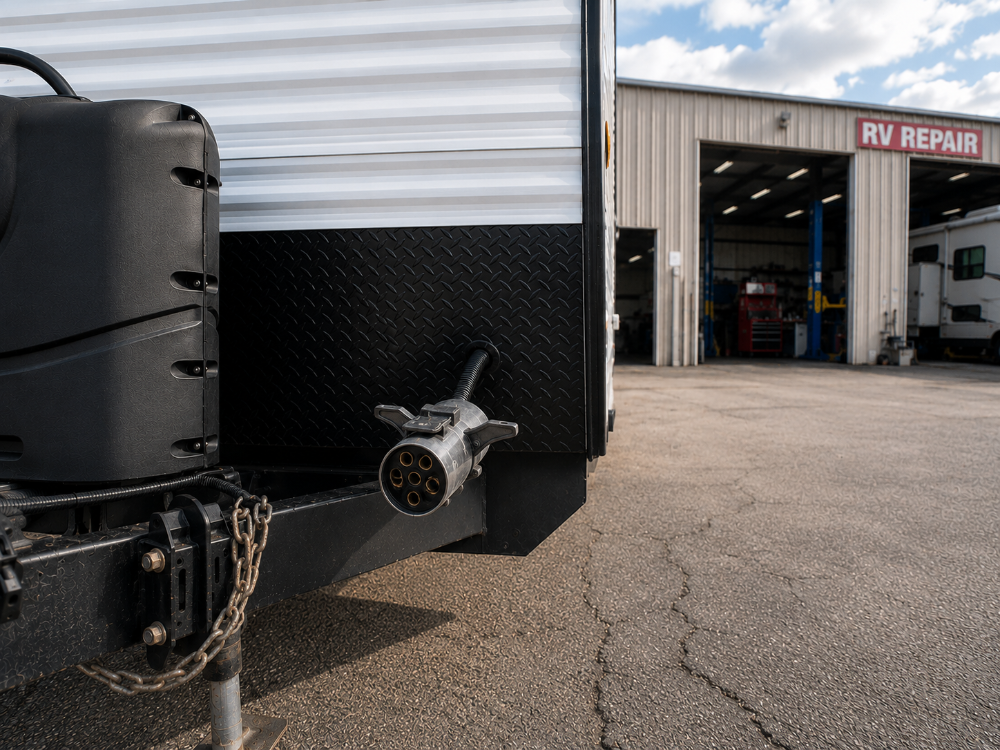
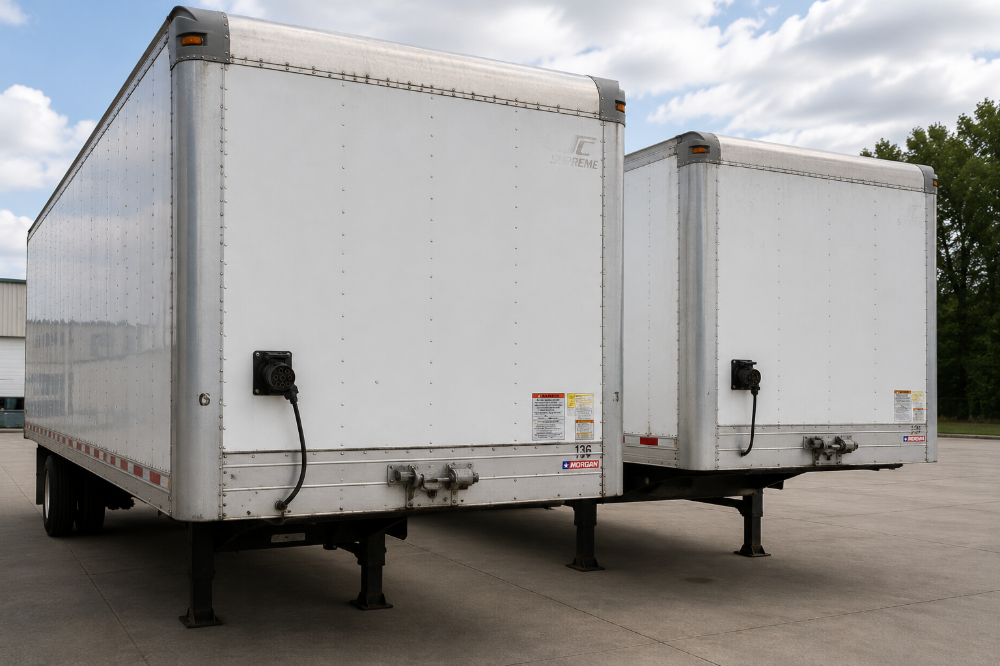
7-Way (7-Pin) Connectors (Most Common for Fleet + Towing)
The 7-way round connector (often called a 7-pin) is the go-to option for many modern towing setups. It supports lighting plus electric brakes and auxiliary power, making it one of the most common connector types used for work trailers.
|
A typical 7-way supports:
|
Where it shows up:
|
Typical failure pattern:7-way connectors often fail due to corrosion, loose pins, worn socket tension, bad grounds, harness strain near the plug body, or repeated “adapter stacking” that adds weight and leverage.
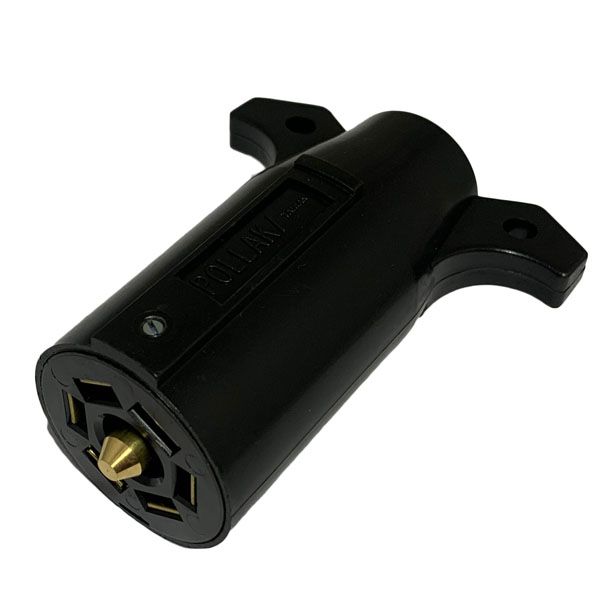
Heavy-Duty Round Pin Styles (for Harsh Environments)
| In high-vibration, high-moisture, or high-cycle environments, many shops prefer round pin configurations with improved sealing and mechanical stability. These are often used where reliability matters more than “whatever is cheapest on the shelf.” |
Where it shows up:
|
Trailer Connector Sockets (Vehicle-Side Reliability Matters Too)
|
Shops often focus on replacing the trailer-side pigtail, but the tow vehicle socket can be the true failure point, especially when:
If your shop sees repeat electrical complaints across different trailers, inspect the tow vehicle socket early. It can save significant diagnostic time. |
Quick Shop Note: Replace in Matched Pairs When You Can If a trailer plug is visibly corroded and loose, there’s a good chance the tow vehicle socket is worn too. Replacing both sides together can reduce comebacks dramatically and improve long-term reliability. |
How to Choose the Right Trailer Plug
Choosing the right trailer plug isn’t complicated, but it does require the shop to match connector type to trailer function, circuit requirements, and environmental exposure. The wrong connector can still “work” temporarily, but it can create flickering lights, brake circuit issues, and intermittent faults that waste time on every inspection.
A good selection process is simple: confirm needs, choose the correct format, verify wiring, then protect the connection for long-term use.
Start with the Trailer’s Required Circuits (Not What’s Currently Installed)
Before you order anything, confirm what the trailer actually needs:
Quick Decision Trailer Connector Selection Guide
|
Trailer Requirement |
Recommended Connector Type |
Why |
|
Basic lighting only |
4-Way (Flat) |
Supports running lights and turn/brake circuits with minimal complexity |
|
Lighting + electric brakes |
7-Way (Round) |
Required to support electric brake circuits and additional signals |
|
Lighting + surge brake lockout or auxiliary function |
5-Way (Flat) or 7-Way (Round) |
Provides an extra circuit beyond basic lighting; 7-way offers more flexibility |
|
Fleet standardized system |
Shop-approved connector format |
Standardization reduces adapters, wiring errors, and hookup time |
4-Pin vs 7-Pin Trailer Connector: Which Is Best?
This is one of the most common questions in maintenance, especially when upgrading or standardizing fleet repairs.
4-Way (Flat) vs 7-Way (Round) Trailer Connector Comparison
|
Feature / Consideration |
4-Way (Flat) |
7-Way (Round) |
|
Best when you need |
Simple lighting circuits only |
Electric trailer brakes |
|
Lower-cost replacement |
12V auxiliary power |
|
|
Fast installs on light trailers |
Reverse signal / extra circuits |
|
|
Secure connection for daily-use towing |
||
|
Supported functions |
Running lights |
Running lights |
|
Left & right turn / brake |
Left & right turn / brake |
|
|
Ground |
Ground |
|
|
— |
Electric trailer brakes |
|
|
— |
Reverse / auxiliary signal |
|
|
— |
12V auxiliary power |
|
|
Typical use cases |
Utility trailers |
Equipment trailers |
|
Landscape trailers |
Dump trailers |
|
|
Small carts & light-duty trailers |
Enclosed cargo & fleet trailers |
|
|
Install complexity |
Low |
Moderate |
|
Durability in daily use |
Moderate |
High |
|
Tradeoffs |
No electric brakes |
More wiring complexity |
|
No auxiliary power |
Higher importance on sealing & strain relief |
|
|
Easier to damage when dangling |
Correct pinning is critical |
|
|
Less ideal in harsh environments |
Slightly higher part cost |
|
|
Long-term reliability |
Lower for frequent towing |
Higher, especially in fleet use |
|
Bottom-line takeaway |
Best for light-duty, occasional towing |
Best for fleets, heavier loads, and daily towing |
If your trailers tow frequently and carry heavy loads, a 7-way setup usually wins on reliability, flexibility, and future compatibility.
Flat Pin vs Round Pin: What the Shop Should Consider
The flat vs round decision is often about durability and environment.
Flat vs Round Pin Trailer Connector Comparison
|
Consideration |
Flat Connectors |
Round Pin Connectors |
|
Availability & familiarity |
Quick and common |
Common in fleet and heavy-duty setups |
|
Ease of replacement |
Easy to replace on the fly |
Typically replaced less often due to durability |
|
Best use case |
Occasional towing |
Daily-use towing |
|
Load suitability |
Lighter loads |
Heavier loads and frequent towing |
|
Mechanical stability |
Moderate |
Mechanically stable under vibration |
|
Seating & alignment |
Can misalign if not seated carefully |
Easier to keep seated and aligned |
|
Performance under vibration |
More prone to intermittent contact |
Maintains consistent contact |
|
Impact on comebacks |
Higher risk in frequent-use environments |
Better for fleets where comebacks are expensive |
|
Overall takeaway |
Simple and effective for light-duty use |
More reliable choice for fleet and high-cycle towing |
If your shop supports construction trailers, towing rigs, or year-round fleets, round pin setups often reduce intermittent faults.
Connector Material and Strain Relief: The Hidden Durability Factor
Even with correct wiring, connectors fail early when:
- The strain relief is weak.
- The molded body doesn’t support bending.
- The cable jacket isn’t protected.
- Flex happens at the same point repeatedly.
Real-World Example:
A trailer harness gets yanked during tight turns, slammed in a door, and dragged through snow. If the connector body doesn’t protect the wiring, you’ll see conductor fatigue and broken strands inside the insulation.
Consider Compliance, Capacity, and “Future-Proofing”
For many fleets and commercial towing setups, the decision isn’t just preference, it’s practicality.
7-way connectors are commonly selected because they can support electric brakes, reverse circuits, and auxiliary power systems that heavier trailers may require. Even if you don’t need every function today, standardizing on a more capable connector can reduce adapters, confusion, and future upgrade headaches.
Trailer Plug Cheatsheet (Quick Reference)
|
Plug Type |
Best For |
Supports |
Typical Shop Use |
|
4-Way Flat |
Basic lighting |
Running + brake/turn + ground |
Utility trailers, small carts |
|
5-Way Flat |
Lighting + extra function |
Adds aux/reverse lockout |
Boat trailers, surge brakes |
|
6-Way |
Specialized setups |
Varies by standard |
Older rigs, specialty use |
|
7-Way Round |
Full-feature towing |
Lights + brakes + aux power |
Fleet, equipment trailers |
|
From the Ram Products Experts In many trailer plug failure cases, what’s the real root cause? Corrosion at the pins, poor grounding, harness strain, or incorrect wiring? Which fix reduces repeat repairs the most? “Any of those could cause plug failures, but fixes come from using dielectric grease to prevent corrosion, or, using an internal/external lock washer to secure the ground. The biggest solution that most don’t consider is using wire loom to protect exposed wires.” |
Techniques for Proper Use
In a shop environment, the goal isn’t to “make it work once,” but rather, to survive daily use, weather exposure, and repeated hookups.
These techniques help reduce intermittent faults and improve long-term reliability.
Insert and Remove Correctly (Don’t Side-Load the Pins)
Trailer plugs are designed to connect straight in and seat fully. When technicians connect at an angle, they can:
- Deform pins
- Weaken contact pressure
- Crack connector housings
- Create intermittent symptoms that are hard to reproduce
Shop Habit to Adopt:
Push the connector straight in until fully seated, then verify latch/cap alignment.
Protect Connections When Parked (Don’t Leave Plugs Dangling)
When a plug hangs freely, it becomes:
- More exposed to moisture, grime, and dirt (which could lead to electrical shorts)
- More at risk for structural damage, eventually leading to a replacement and more money out of pocket
Better Practice:
Use a holder, bracket, or secure mount point so the connector isn’t swinging or dragging.
Control Cable Routing and Flex Points
Many “connector problems” are actually wire failures near the connector caused by repeated flexing at the same point.
Fix it with cable routing discipline:
- Avoid sharp bends near the connector body.
- Use proper clamps or mounting points.
- Leave enough slack for turning (but not enough to drag).
If you reduce flex stress in the first 6-10 inches behind the trailer plug, you can eliminate a large percentage of repeat electrical issues.
Use Dielectric Grease Strategically
Dielectric grease helps reduce moisture intrusion and corrosion, but only when used correctly.
Best practices:
- Apply a light coat to reduce moisture intrusion.
- Don’t pack the socket full (it can prevent full seating).
- Reapply as part of periodic service in harsh climates.
Standardize a Quick Test Procedure (Don’t Just “Hook It Up and See”)
Instead of guessing, standardize a repeatable check:
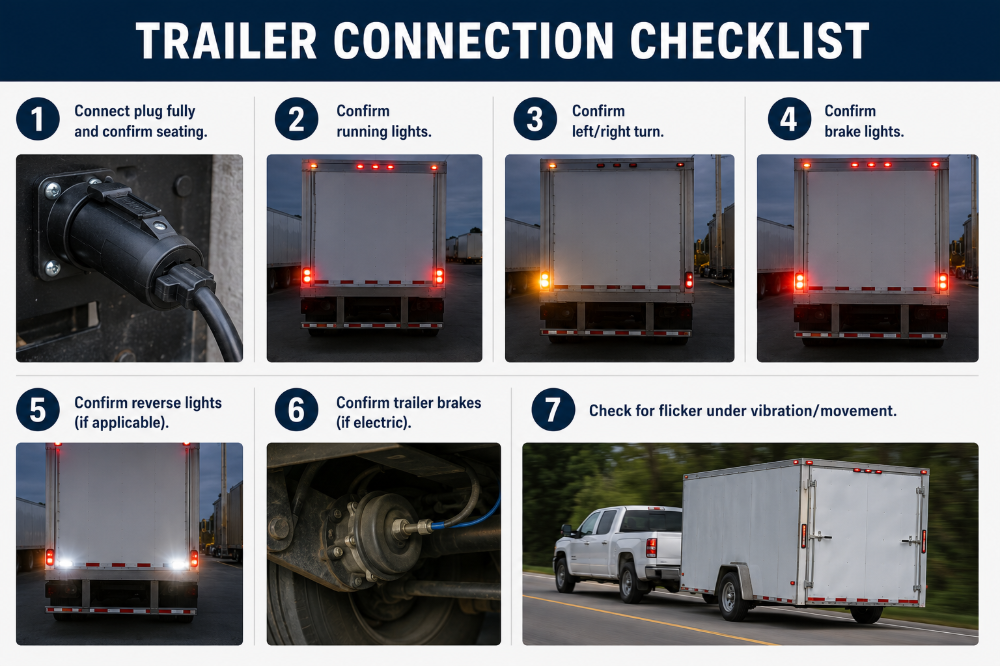
That last step matters because some faults only show up when the connector is bumped or under movement.
Best Practices for Trailer Plugs
If your shop wants fewer comebacks and less diagnostic time, connector maintenance should be treated like a checklist and not a “when it breaks” repair.
These best practices help maintenance teams improve towing reliability across fleets, seasons, and use cases.
Standardize the Plug Type Across Your Fleet Where Possible
Mixing connector types across trailers creates:
- Adapter clutter
- Incorrect repairs
- Time loss during hookup
- Higher error rates under pressure
If most of your fleet needs braking and aux power, standardizing around a 7-way system typically makes daily work faster and more consistent.
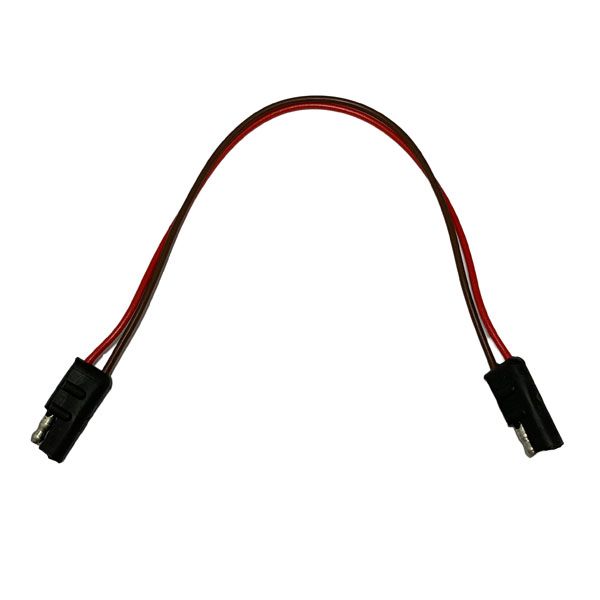
Stock Spares to Minimize Downtime
Trailer plugs and sockets are high-wear components. Keeping a small inventory of your most-used connector styles helps techs resolve issues immediately instead of delaying repairs or improvising with mismatched parts.
A practical shop stock list often includes:
- Your standard trailer plug format (commonly 7-way)
- Matching vehicle-side sockets
- Replacement pigtails / harnesses
- Terminals, heat shrink, loom, clamps, and dielectric grease
Use a Consistent Wiring Approach and Label It
In the real world, trailer wiring problems often come from:
- “Color guessing”
- Reused harnesses with unknown history
- Repaired splices with no documentation
A shop-standard trailer wiring diagram posted in the bay saves time, especially when multiple techs touch the same trailer over months or years.
7-Pin Trailer Plug Wiring: Prioritize Clean Grounds and Protected Power
A lot of “weird” trailer electrical issues are really ground problems.
Best practices for 7-pin trailer plug wiring:
- Use a dedicated, clean ground path (don’t rely on rust-prone frame-only grounding).
- Protect the 12V auxiliary circuit with appropriate fusing.
- Make sure terminals are fully seated and strain relieved.
- Avoid routing that rubs sharp edges or fasteners.
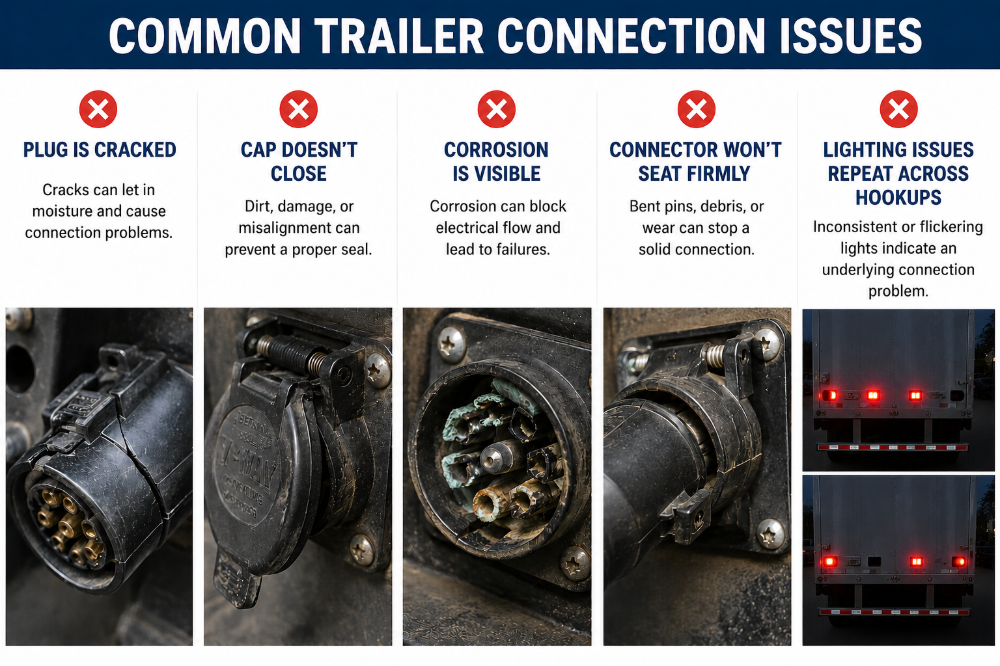
Train Techs to Inspect Pins, Not Just Housings
A connector can look fine on the outside while the inside is failing.
During inspections, check for:
- Green / white oxidation
- Burnt or darkened pin contact points
- Loose-fit connectors (worn socket tension)
- Water intrusion signs
If pins are compromised, replacing the connector is often faster than chasing intermittent faults.
Replace Suspect Connectors Before They Become Failures
Preventive replacement makes sense when:
It’s far cheaper to replace a trailer plug proactively than to diagnose the same issue repeatedly.
Common Mistakes to Avoid
Most trailer connector failures aren’t complicated; they’re repeatable mistakes that happen when the shop is busy, the job is rushed, or the part choice isn’t thought through.
Eliminating these will reduce comebacks fast.
Mistake #1: Fixing Symptoms Instead of the Failure Point
Replacing bulbs and chasing lighting issues won’t help if the connector is loose, corroded, or internally damaged.
Better Approach:
Check connector fit and pin condition before deeper diagnostics.
Mistake #2: Using Adapters as a Long-Term Solution
Adapters can be useful, but they often become permanent. That adds:
- Extra connection points (more failure points)
- Extra weight on the plug
- More strain and movement
If the trailer is staying in the fleet, update the trailer plug and socket configuration properly instead of living on adapters.
Mistake #3: Splicing without Sealing or Strain Relief
A splice isn’t inherently bad. An unsealed splice in a wet environment is a guaranteed comeback.
Avoid:
- Bare butt connectors exposed to elements
- Electrical tape-only repairs
- Unsupported wiring with no strain relief
Mistake #4: Ignoring Early Signs of a Bad Ground
If lights flicker when the harness moves, suspect the ground early. A weak ground can mimic multiple failures at once and waste diagnostic time.
Mistake #5: Installing the Wrong Connector Because “It’s What We Had”
Stocking mismatched parts creates mismatched repairs. That’s how fleets end up with inconsistent connector types and constant hookup issues.
If you do towing work regularly, keeping the right connectors and sockets on hand prevents improvisation and improves long-term reliability.
Trailer Plug Summary & Practical Takeaways
Trailer connectors are easy to overlook, until the day they cost you time, create a safety issue, or trigger a repeat repair. For fleet, MRO, and repair environments, it’s best to treat the trailer plug like a wear-and-tear service item, not a one-time install.
Practical Takeaways for MRO Teams and Mechanics
- Match the connector to the trailer’s actual circuit needs (don’t guess).
- Understand 4-pin vs 7-pin trailer connector differences before installing.
- Decide early whether a flat pin vs round pin fits your environment best.
- Standardize wiring practices and keep a consistent shop wiring diagram posted.
- In 7-pin trailer plug wiring, clean grounds and protected routing prevent most failures.
- Replace worn connectors proactively to avoid intermittent electrical issues.
- Support every repair with proper strain relief, sealing, and documentation.